

 English
 Español
 عربى
عربىIntroduction to PETG Decorative Film In the realm of modern decorative materials, PETG decorative fi...
READ MOREHow to Get Vinyl to Stick to Wood: Surface Prep, Adhesives & Film Options
You press a freshly cut vinyl decal onto a raw pine board. Within a day the edges lift and the center begins to bubble. The vinyl is not the problem; wood is porous, fibrous, and full of moisture and extractives that defeat ordinary pressure-sensitive adhesives. Get the substrate right, and the same vinyl stays flat for years. The wood must be dense, dry, clean, and sealed before the adhesive touches it.
This guide explains why vinyl fails on untreated lumber, how to prepare wooden surfaces so the bond holds, how to choose compatible vinyl and sealer materials, and when a decorative film designed for wood is the more dependable route.
Why Vinyl Lifts from Raw Wood
Adhesive vinyl requires continuous contact with a smooth, non-porous layer. Raw wood violates that requirement in four ways at the same time.
Porosity. Wood is a bundle of hollow fibers. Softwoods such as pine and fir absorb adhesive like a sponge, pulling the bond into the grain and leaving nothing at the contact surface. Open-grained hardwoods such as oak leave microscopic valleys that the vinyl bridges without touching, so the adhesive grips only the high spots.
Moisture. Wood is hygroscopic. It takes on and releases moisture with every humidity change, and it swells and shrinks enough to stress a thin vinyl film. The adhesive bond fails at the edges first.
Natural extractives. Resins, tannins, and waxes migrate to the surface over time. Tannins from oak and cedar act as a release layer beneath the adhesive.
Sanding dust. Fine dust hides in the grain even after wiping. It sits between the adhesive and the wood, and no vinyl can bridge that gap.
The lesson is not to find a stronger vinyl. It is to make the wood surface denser, cleaner, and more uniform. That is the only reliable way to get vinyl to stick to wood.
Prepare the Wood in Six Steps
The best adhesion happens on a surface that no longer behaves like lumber. Work through these steps and the vinyl will behave as if it were applied to glass.
- Sand in stages. Start with 120-grit to remove roughness, move to 180, then finish at 220. For maple or birch you can finish at 320, but 220 is enough for almost every DIY project. Coarse scratches leave peaks and valleys that the adhesive cannot wet out.
- Remove every trace of dust. Use a vacuum with a brush nozzle, then wipe with a tack cloth or lint-free cloth. Do not use water to clean bare wood; it raises the grain and undoes the sanding.
- Seal the wood. De-waxed shellac blocks tannins and resins and works on pine, cedar, and oak alike. Oil-based primer is the right choice when the piece will be painted. For clear finishes, a thin coat of polyurethane works well. The goal is a sealed, non-porous surface that still shows the grain.
- Let the sealer cure. Twenty-four hours at room temperature is the minimum for shellac and most polyurethanes. A sealer that is still outgassing will weaken the adhesive.
- Sand the sealer lightly. A quick pass with 220 or 320 grit removes nibs and gives the vinyl an even bed. Do not sand through the sealer.
- Wipe with 70-90 percent isopropyl alcohol on a lint-free cloth and let it flash dry. This removes the last residue and leaves an ideal surface for the adhesive.
Different wood substrates need different preparation. Use this table as a quick reference before you start.
| Wood type | Why it can fail | Practical preparation |
|---|---|---|
| Pine, fir, spruce | Soft, resinous, deeply porous | Sand to 220, seal with de-waxed shellac, sand lightly again |
| Oak, ash, hickory | Open grain creates an uneven bed | Apply grain filler or two coats of shellac, sand between coats |
| Maple, birch, poplar | Dense and smooth, low risk | Light 220-grit sand, one sealer coat, alcohol wipe |
| MDF or plywood face | Dusty; edges absorb adhesive | Scuff sand, vacuum edges, seal edges, then prime |
| Reclaimed or painted wood | Old wax, oil, or failing paint | Strip, degrease, sand, seal with oil-based primer |
Choose the Right Vinyl, Adhesive, and Sealer
Surface preparation and material choice act together. A good film on a bad surface lifts; a poor film on a good surface also lifts.
Cast vinyl is more reliable on wood than calendared film. Cast film is manufactured as a thinner, more conformable material, so it follows slight wood texture and resists edge lifting. Calendared vinyl holds on a flat, well-sealed sign board, but outdoors it shrinks and pulls its own edges loose.
Adhesive quality is the second variable. For wood, choose a permanent, high-tack adhesive. Removable and repositionable adhesives are designed to fail; on a porous substrate they fail quickly.
The finish underneath matters as much as the film. Do not apply vinyl over latex paint. Latex is soft and has low surface energy; the vinyl bond blisters, and the paint often peels along with it. An oil-based gloss enamel cures hard and smooth and gives the adhesive a reliable base. Keep wax-based sealers away from the prepared surface as well, because wax migrates into the adhesive and quietly kills the bond.
For outdoor pieces, protect the whole surface after application. Once the adhesive has set, you can apply a water-based polyurethane or satin topcoat over the vinyl; the clear coat covers the cut edges and keeps moisture from creeping underneath. Test the topcoat on a scrap piece first, because some water-based clears wrinkle vinyl.
Apply Vinyl So It Stays Down
Application technique controls the contact area between adhesive and surface. Done carefully, the bond is uniform across the whole design.
- Let the vinyl and the wood sit at room temperature for at least an hour. Cold film is stiff and its adhesive does not wet out properly. The practical range is 18-24°C (65-75°F).
- Use transfer tape to move the design. For large letters, tape the top edge like a hinge, lift the film, and lay it down from the top so air can escape.
- Press from the center outward with a felt squeegee at about 45 degrees. Felt does not scratch the sealer or the film.
- Roll the whole piece with a weighted roller or a firm cylindrical tool. This flattens the film and pushes adhesive into the sealed surface texture.
- Heat the vinyl for two to three minutes with a heat gun on low or a hairdryer. The softened film flows into microscopic irregularities and the adhesive bonds more completely.
- Burnish every edge with the squeegee tip or a thumbnail. Edges are where peeling starts.
- Leave the piece flat and untouched for 24 hours. The adhesive needs time to reach full bond strength.
When Adhesive Vinyl Is Not the Right Tool
Craft vinyl has its place: signs, labels, small decorations, and projects that are easy to redo. For furniture, kitchen cabinets, and surfaces that must survive heat, impact, and repeated cleaning, a thin adhesive vinyl is the wrong material. Kitchen cabinet doors get scratched, and drawer fronts absorb cooking grease through the film edges.
This is where decorative films enter the picture. These are factory-made PVC and PETG films with controlled adhesive systems and laminated topcoats, produced for board wrapping, edge banding, and flat lamination. They bond permanently to MDF, plywood, and particleboard, and their printed grain patterns do not look like stickers.
For wood-grain furniture and interior panels, woodgrain PVC printed decorative films are the workhorse. They wrap edges cleanly, resist moisture and mild cleaning agents, and hold their color for years.
 Light-Colored Wood-Grain PVC Printed Decorative FilmThis water-based printed PVC film suits flat lamination, wrapping, and blistering processes. Its scratch, stain, and corrosion resistance make it a practical choice for wood-grain furniture and interior panels mentioned before.View Product →
Cabinet shops choose PETG decorative films when they need dimensional stability around routed edges and a clean, matte surface from a low-odor manufacturing process. The material keeps its shape around oven heat and steam.
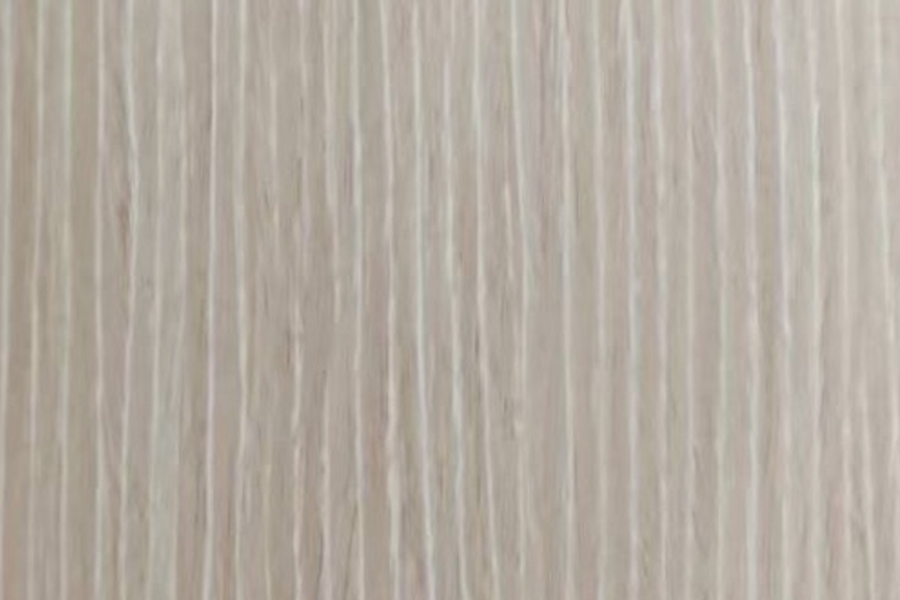 Wood-Grain Printed PETG Decorative FilmFood-grade PETG film with good flexibility for flat lamination and 3D wrapping. Ideal for kitchen and children's furniture, it offers dimensional stability and a matte finish, matching the cabinet shop needs discussed in the preceding paragraph.View Product →
When a production run calls for one uniform color, single-color decorative film is more consistent than spray paint and does not require a paint booth. Panel infills, drawer fronts, and carcass sides keep the same shade from one batch to the next.
 Single-Colored Non-Embossed PVC Decorative FilmOffers consistent solid colors across batches without paint booth requirements. Surface treatments provide scratch, stain, and corrosion resistance, making it suitable for panel infills, drawer fronts, and carcass sides as described in the surrounding text.View Product →
Verify the Bond Before You Call It Finished
Two checks catch most adhesion problems while they are still easy to fix.
The 45-degree test. Apply a 5 cm scrap strip of vinyl to the sealed wood, wait ten minutes, and try to lift it with a slow pull at 45 degrees. If it peels easily, the surface is still too rough, dusty, or porous. Redo the sealing step.
The 24-hour test. After a full day, inspect every edge of the installed vinyl. If an edge has lifted, heat it and press it down again. If it lifts a second time, the sealer has failed and the vinyl will not stay until the wood is resealed.
For furniture-scale work, check the wood with a moisture meter before sealing. A reading below 10-12 percent is the practical condition for a durable bond. Wood that is too damp will push water through the sealer and lift the adhesive within weeks, even when the first day looks fine.
Vinyl sticks to wood when the wood stops behaving like wood and starts behaving like a proper substrate: dense, dry, clean, and sealed. For a weekend craft project, the preparation and application steps above are enough. For kitchen cabinets, office furniture, and commercial interiors, plan for a decorative film made to bond to board substrates, and talk to a decorative surface film manufacturer about matching the film, adhesive, and lamination process to your board stock. That is the difference between a decal that lifts and a surface that lasts.
PREV:No previous articleNEXT:How to Evaluate a Decoration Film Manufacturer for Consistent Production
Interested in cooperation or have questions?
Recommended articles
-

Don't hesitate to contact when you need us!
GET IN TOUCH
-
Wood-Grain PVC Printed Decorative Film
Single Color PVC Decorative Film
Time-Space Fantasy PVC Printed Decorative Film
Cloth-Grain PVC Printed Decorative Film
Faux Leather Texture PVC Decorative Film
-
 No. 2 Yidu Road, Yizhuang Village, Guanlin Town, Yixing , Jiangsu, China.
 +86-0510-80773188
+86-18020301786 -

Copyright © Wuxi Telisi New
Material Technology Co., Ltd. Rights Reserved.
PVC Decorative Film Manufacturers PVC Membrane Foil Suppliers
